
Here's the tutorial I shared last week on Sew Woodsy for the 12 Days of Christmas ornament event.
My inspiration for this ornament came from a few places. I wanted to make my 10-month-old son a "Baby's 1st Christmas" ornament. But I also wanted this to be an ornament anyone could customize by simply changing the word to something like "Peace." I also wanted to play on two of my loves. Patchwork! And I love old vintage ornaments, the whimsical shapes and bright colors. So this is what I came up with!


Supplies:
2 pieces of fabric about 5 inches by 7 inches. You have two options. You can simply cut two solid pieces. Or if you want a patchwork back, you'll need to piece together a square this size. I used about seven stripes of fabric 1.5 inches by 5 inches to get there.
Small scrap of linen or muslin.
Fabric marker.
7-inches of ribbon or rickrack
Small amount of stuffing
Vintage ornament pattern. You can make your own pattern or download mine here.
Optional: other trims to decorate.
Sewing essentials: machine, scissors, thread, pins, iron, etc.
In a few of my pictures, you'll notice the measurements I give you aren't the same as what's pictured. I made this ornament three times, working out the kinks. The info I wrote up might not always match my photos, but I did my best!
One more word about the materials. If you are making a baby's first Christmas ornament, one way to make this special is to use pieces of fabrics that your baby wore or had on his baby blanket. I cut up one of my absolute favorite baby outfits for this. (You can see him wearing it here.) It was tough, believe me! I held it and sniffed it for a good five minutes before slicing into it. But if I keep the outfit in a bin in my basement for the rest of my life, I can't enjoy it as much as I can this way, when I'll see that little piece of fabric each Christmas and remember JJ in that outfit.
I use a 1/4 inch seam allowance throughout.
Let's get started!


1. Cut your fabric and ornament pattern out. I provided a pattern you can print out, or you can do what I did: look at Google images of vintage ornaments and freehand your own pattern. Make sure to add in the seam allowance if you freehand. First draw the shape you want for your finished project, then add a the seam allowance.

2. Write your chosen word on the scrap of linen using a fabric marker. If it's for a baby, a name and the year work well. Or pick a nice, Christmasy word, like "Peace" or "Hope."

3. Using the ornament pattern, estimate where you want the word, and then pin it to the fabric. Then stitch on using a straight stitch or zig-zag stitch.

4. Piece together your back, if doing patchwork. Place two strips right sides together and stitch together. Continue until all strips are sewn together.

6. Trace the ornament pattern on the wrong side of both the front and back pieces. Cut out.


7. If you want to add any additional trims, add them now. I added a little rick-rack to one ornament, sewing it on with a straight stitch.
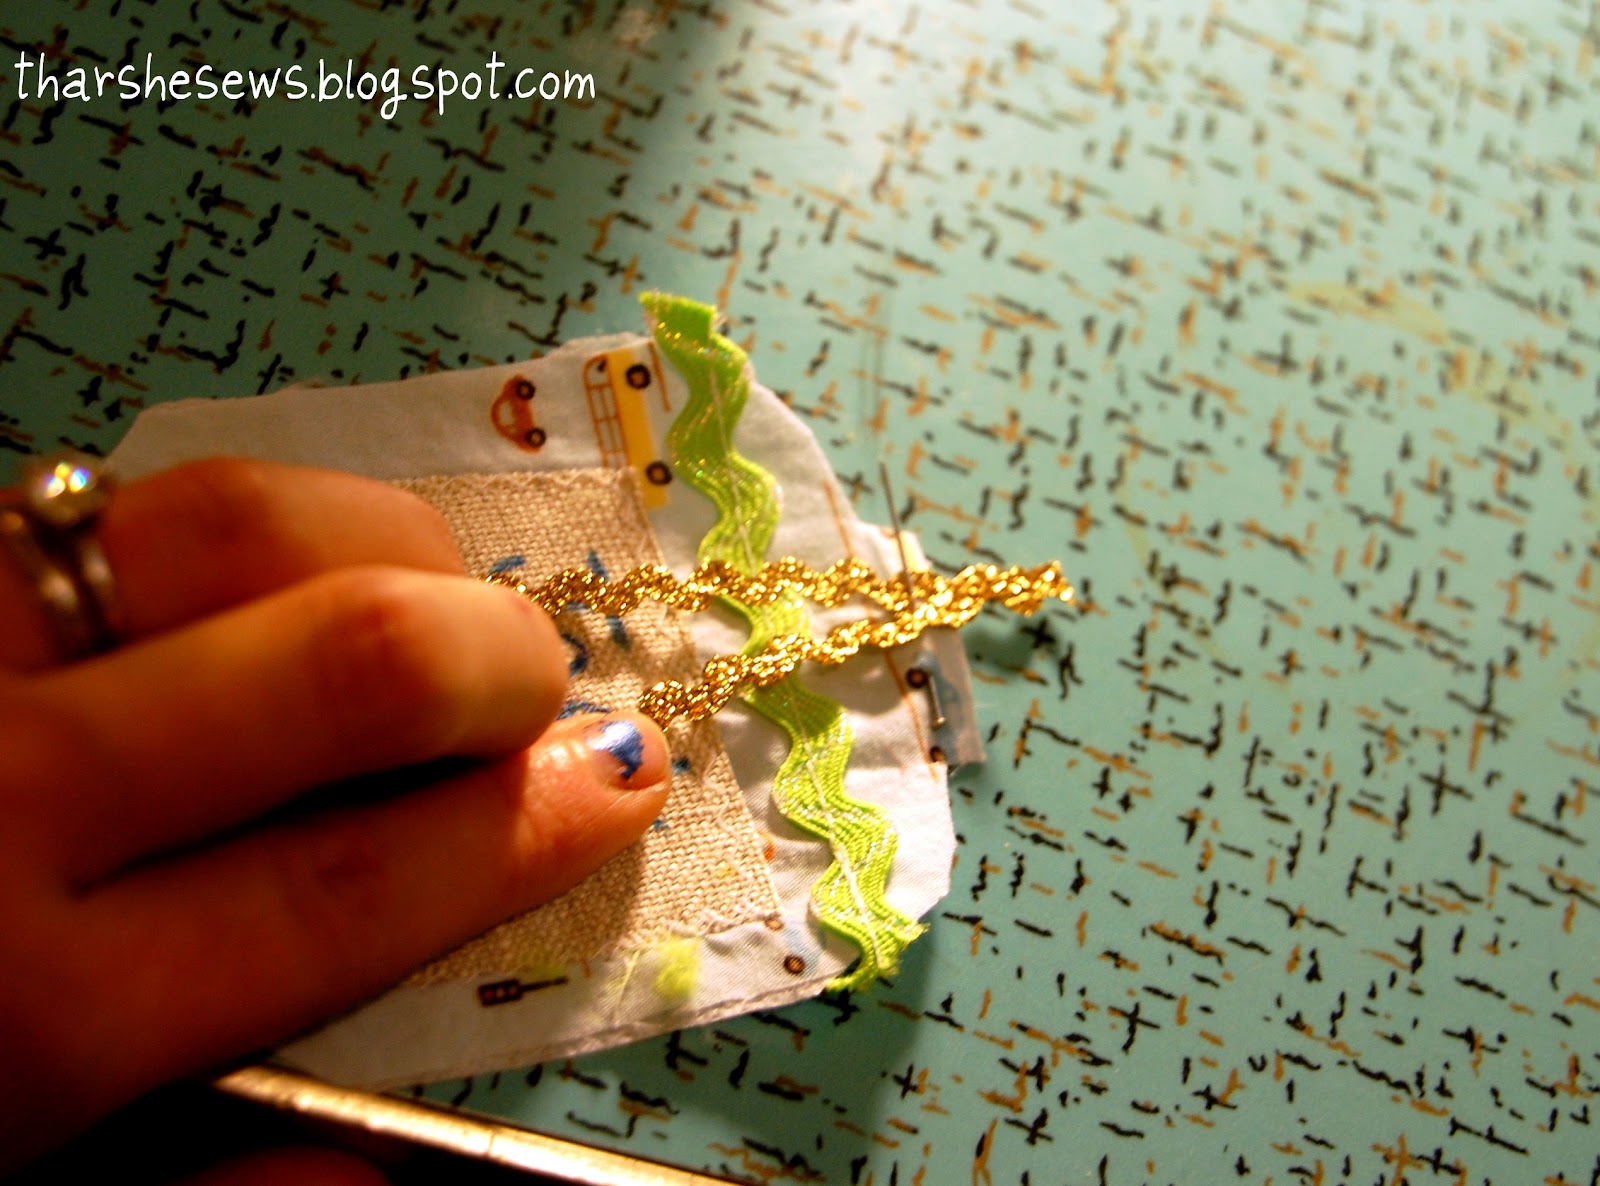
8. Baste the ribbon or rick-rack to the top of the right side of either the front or back. Pin it down in the middle of the ornament so it stays out of the way when you sew the two sides together.

9. Place right sides together and pin carefully, matching the points at the top and bottom. Then sew together, leaving a 3-inch hole on one side for turning. Lift the presser foot with the needle down on the tight curves to turn your fabric.

10. Clip the curves and points and trim seam allowance (except at turning hole). Then turn right-side out. Press. When pressing, make sure to press the seam allowance down at the turning hole.
12. Fill with batting, stuffing it into the small crevices carefully with a chopstick or pencil.
13. Pin the turning hole close and hand-stitch it shut.
All done!


Thanks so much Katie for having me!
This is lovely! A very unusual shape :)
ReplyDeleteKaty
x
Those came out very cute
ReplyDelete